Remote Iot Monitoring Ssh Download Mac Free
Are you ready to transform your approach to managing your Internet of Things (IoT) devices? Mastering remote IoT monitoring with SSH on your Mac isn't just a technological advancement; it's a paradigm shift in how you control, manage, and troubleshoot your connected devices, no matter where you are.
The world of interconnected devices has exploded, from smart home appliances and industrial sensors to sophisticated data collection systems. The ability to monitor and control these devices remotely is no longer a luxury it's a necessity. And the good news? You can achieve this powerful capability with the right tools and a little bit of know-how, all for free, right on your Mac.
| Feature | Details |
|---|---|
| Topic | Remote IoT Monitoring with SSH on Mac |
| Core Concept | Utilizing SSH (Secure Shell) for remote access, management, and monitoring of IoT devices from a Mac. |
| Key Benefits | Secure remote access, centralized device management, troubleshooting capabilities, real-time monitoring, and enhanced control over IoT devices. |
| Target Audience | Developers, hobbyists, IT professionals, and anyone managing IoT devices. |
| Core Technologies Involved | SSH (Secure Shell), macOS, IoT devices (e.g., Raspberry Pi), Linux-based systems, network configurations. |
| Related Concepts | Remote access, cybersecurity, networking, device management, embedded systems. |
| Tools & Technologies | macOS, SSH client (built-in Terminal or third-party apps), IoT devices (e.g., Raspberry Pi), SSH server configuration on IoT devices, network configurations, firewall configurations. |
| Resources | SSH.com: A reputable source of information about SSH and related security technologies. |
So, what exactly is remote IoT monitoring? At its core, its the ability to keep tabs on your Internet of Things (IoT) devices from a distance. Instead of physically being present at the location of your devices, you can access their data, configure settings, and even troubleshoot issues from your computer or mobile device, all while securely connected over the internet.
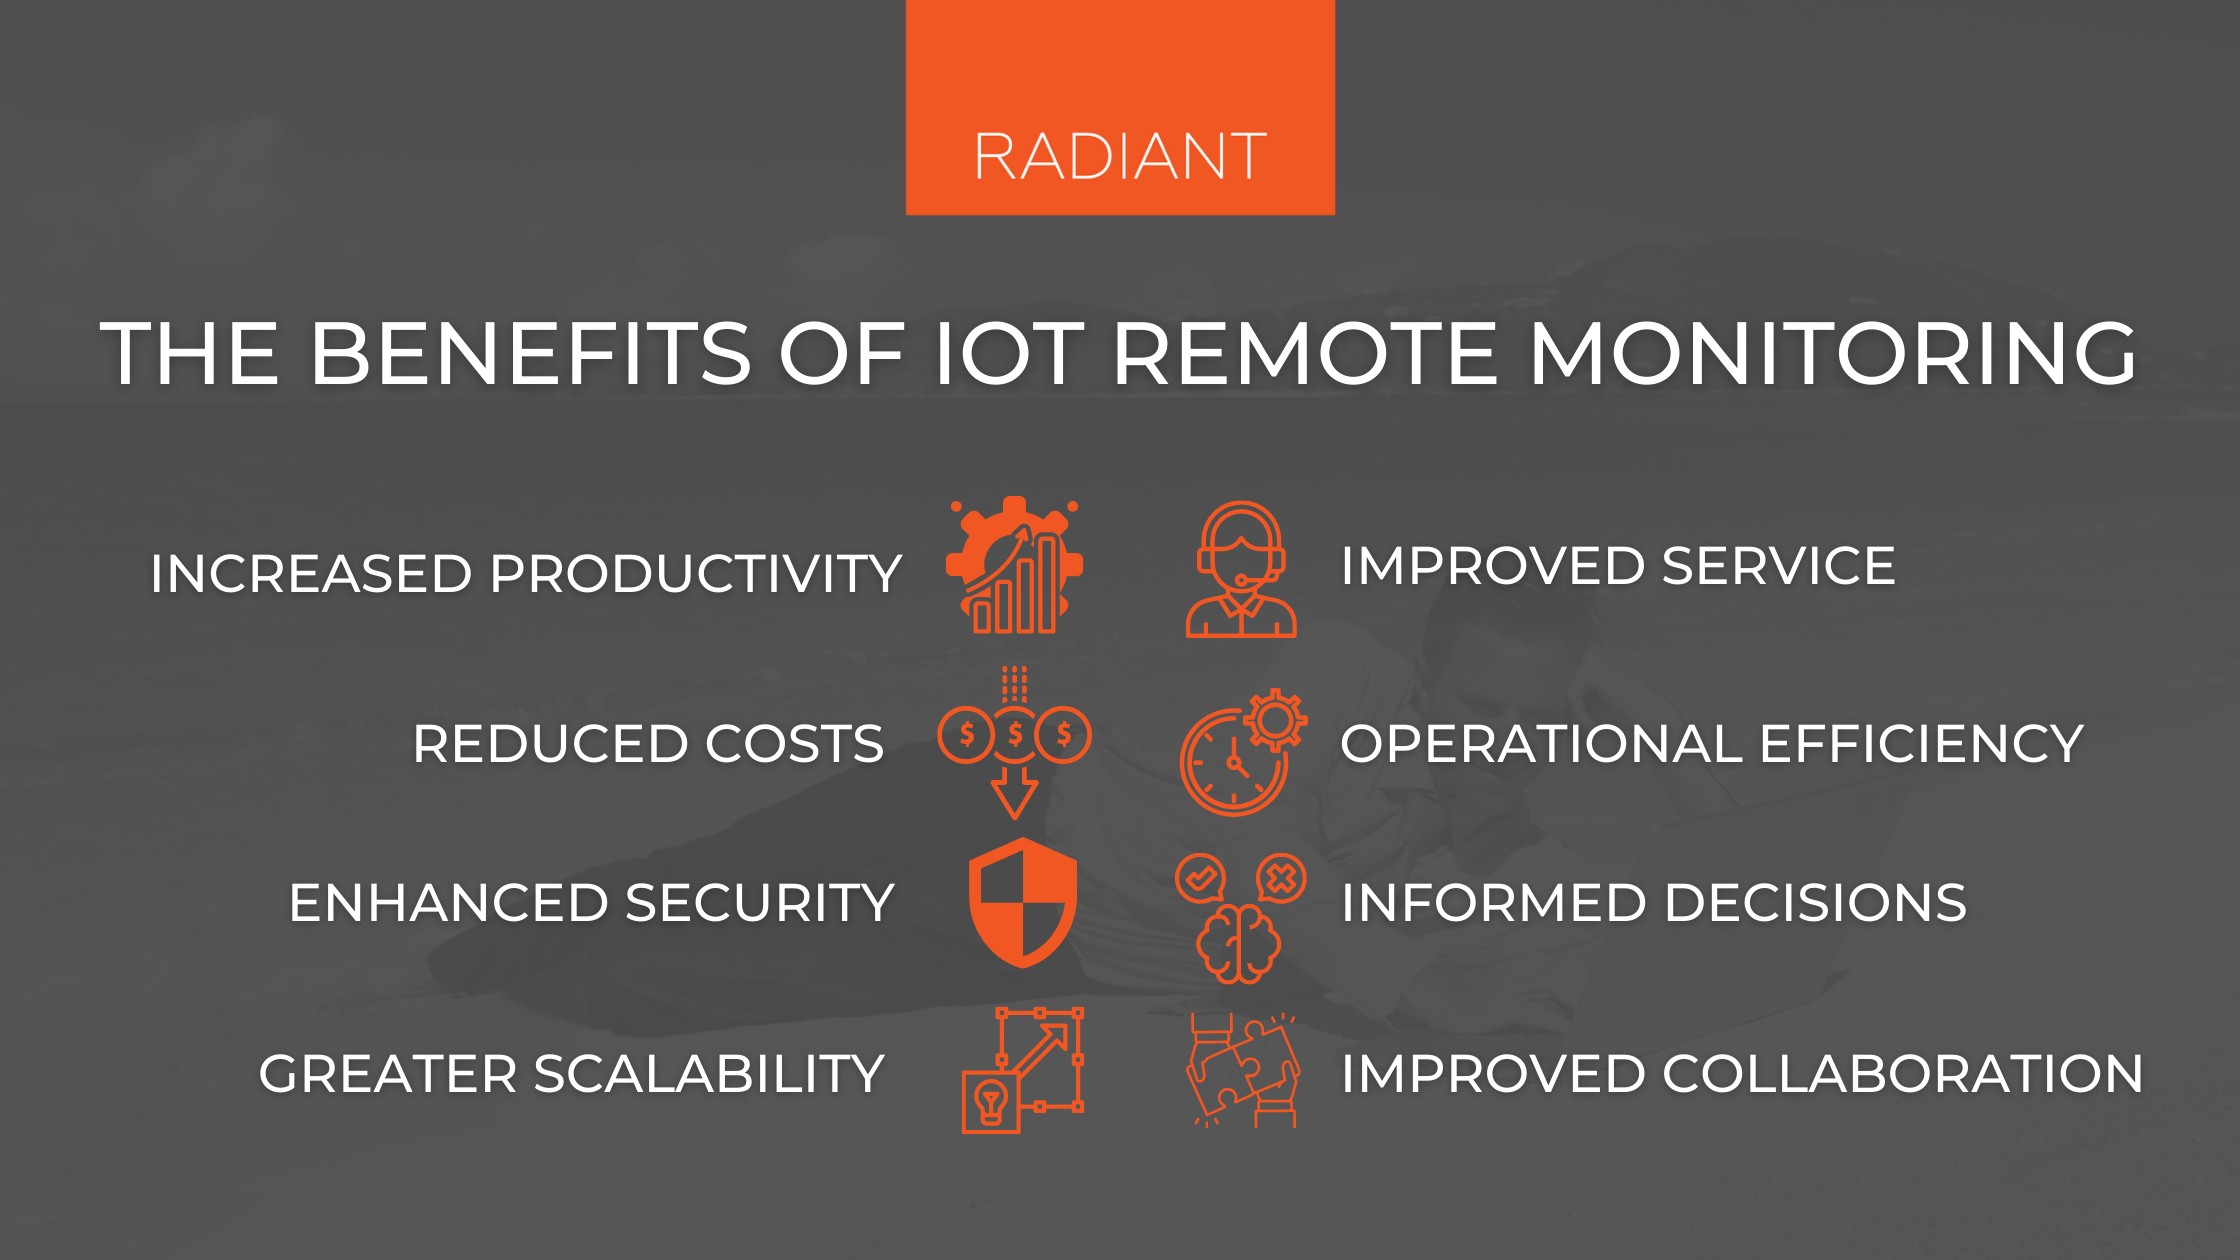
The beauty of remote IoT monitoring lies in its versatility. It streamlines the management of devices scattered across various locations, from your home and office to industrial sites and remote research facilities. Think of it as having a virtual control panel for all your connected gadgets, allowing you to manage them with ease.
Setting up a secure remote connection involves several key steps. Before diving into the specifics, its crucial to understand the underlying principle: Secure Shell (SSH). SSH is a cryptographic network protocol that enables secure communication over an unsecured network. It provides a secure channel to remotely access and control your IoT devices. This ensures that all data transmitted between your device and your computer is encrypted, protecting it from eavesdropping and unauthorized access.
The first step is often the most fundamental: selecting the right tools and platform. You're in luck if you own a Mac, you already have a built-in SSH client! This is accessible through the Terminal application. You'll also need an IoT device to connect to. Many enthusiasts and professionals alike use Raspberry Pi devices as a foundation for this type of operation. Ensure your device is connected to your network, whether that's through Wi-Fi or Ethernet.
Next, you'll want to ensure that SSH is enabled on your IoT device. On a Raspberry Pi, for example, this usually means enabling SSH through the Raspberry Pi configuration settings. Once enabled, you'll need the device's IP address, which can usually be found through your router's management interface or directly on the device itself. This IP address is crucial for connecting to the device remotely. This initial setup phase lays the groundwork for all your future remote access and management tasks.
The process continues with accessing the device via SSH. Open your Macs Terminal application and type the command: `ssh [username]@[IP address of your IoT device]`. Replace `[username]` with the username you use to log into your device (e.g., 'pi' for a Raspberry Pi with the default setup) and replace `[IP address of your IoT device]` with the device's actual IP address. You may be prompted to enter the password for your user account on the IoT device. Enter the password to authenticate your connection.
If everything is configured correctly, you will now have a terminal window connected to your IoT device, allowing you to run commands, navigate its file system, and manage its settings. This connection is encrypted, providing a secure way to interact with your devices from anywhere. This is where the true power of remote access unfolds: you can now do virtually anything you would do while sitting directly in front of the device.
One of the most powerful aspects of SSH-based remote monitoring is the ability to transfer files securely between your Mac and the IoT device. This is essential for tasks such as installing software updates, backing up configurations, and retrieving log files for troubleshooting. Secure Copy (SCP), a command-line utility built on SSH, is your primary tool for this. SCP uses the SSH protocol to securely copy files between your Mac and your IoT device.
For instance, to copy a file from your Mac to your IoT device, you would use a command that looks like this: `scp [local file path] [username]@[IP address of your IoT device]:[remote directory path]`. Replace the placeholders with the actual file paths and device details. Conversely, to retrieve a file from your IoT device to your Mac, you'd use a similar command, but reverse the source and destination paths.
Managing your IoT devices often involves interacting with various services running on them. With SSH, you can manage those services remotely. For example, on a Raspberry Pi, you might use the `systemctl` command to start, stop, restart, and check the status of services like Apache web server or a custom data-logging service. The ability to manipulate services remotely is especially useful for diagnosing and resolving issues. You can restart a service thats behaving erratically without needing to physically access the device.
SSH tunnels are a versatile feature that enables you to securely forward network traffic through the SSH connection. This can be incredibly valuable for accessing web interfaces or other services that are not directly exposed to the internet. You can create a tunnel to forward traffic from a specific port on your Mac to a port on your IoT device. For instance, if your IoT device runs a web server on port 80 and you want to access its web interface, you can create a tunnel.
To create a local port forwarding tunnel, use the command: `ssh -L [local port]:[IoT device IP address]:[remote port] [username]@[IP address of your IoT device]`. This command forwards traffic from the specified local port on your Mac to the specified remote port on your IoT device. After setting up the tunnel, you can access the IoT device's web interface by navigating to `http://localhost:[local port]` in your web browser.
Network configurations play a critical role in enabling remote SSH access. This includes configuring your router to forward traffic to your IoT device. This process varies depending on your router model, but typically involves accessing your router's settings through a web browser. You'll need to find the port forwarding section and set up a rule that forwards traffic from port 22 (the default SSH port) to your IoT device's internal IP address. This lets the outside world know where to send the traffic. This step is fundamental for external access.
Security should always be paramount. While SSH provides a secure connection, there are additional steps you can take to further harden the security of your remote monitoring setup. Changing the default SSH port (port 22) to a less common port is a simple but effective way to reduce the risk of automated attacks. Disabling password-based authentication and using SSH keys, which involve cryptographic key pairs, is another important step. This eliminates the risk of password brute-force attacks.
Regularly updating the operating system and software on your IoT devices is also essential. Software updates often include security patches that address known vulnerabilities. Use strong, unique passwords for all user accounts on your devices, and consider implementing two-factor authentication if supported by your devices. These best practices create layers of security, providing comprehensive protection.
Remote IoT platform access via SSH is a powerful way to manage devices and networks without being physically present. The power of this control isn't limited to your own home network. With the right configurations, you can access your IoT devices securely from anywhere in the world, provided you have an internet connection. This opens up exciting possibilities, from managing a remote sensor network deployed in a remote location to keeping an eye on your home automation system while youre away on vacation.
Tools like Socketxp further enhance the capabilities for remote access and management. Socketxp is a cloud-based IoT device management and remote access platform which adds another level of ease and sophistication to your remote monitoring setup. They streamline the process, especially when dealing with firewalls and NAT routers.
The journey towards mastering remote IoT monitoring with SSH on your Mac is a rewarding one. By following the steps outlined in this guide, you can set up a secure and efficient remote monitoring system tailored to your needs. This empowers you with unprecedented control over your IoT devices, providing convenience, efficiency, and enhanced security. Your IoT devices are waiting for you!
The integration of SSH with IoT devices is becoming increasingly important as demand for remote management grows. These tools and techniques are not just for tech experts; they are for anyone looking to simplify their digital life, streamline their projects, and gain greater control over their technology. So, whether you're a developer, hobbyist, or IT professional, now is the time to unlock the power of remote access with SSH. Let the journey of remote monitoring begin! Remember, with every line of code, youre building a smarter, more connected world.


 devices? Mastering remote IoT monitoring with SSH on your Mac isn't just a te)